


Hello there.
Vitor from the “Vamos Ver no Pano Verde” blog here once again.
This month I was able to paint the Tyranid Warriors. Below is a step-by-step guide of how I did them.
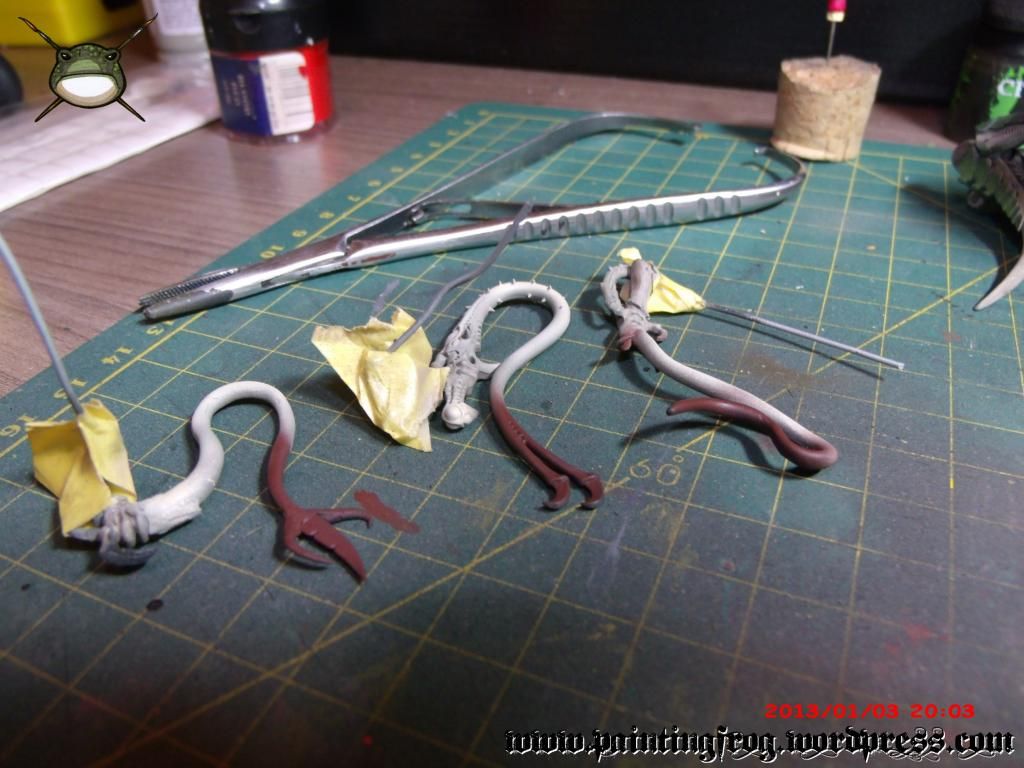
On my last article I had only assembled and prepared them for painting. I glued some wire rods to the parts in order to be able to hold them while I paint. For that I use a needle holder plier, they’re a special kind of pliers which can be found at medical supply stores for reasonable prices and that are really helpful when it comes to painting, especially if you’re using an airbrush.
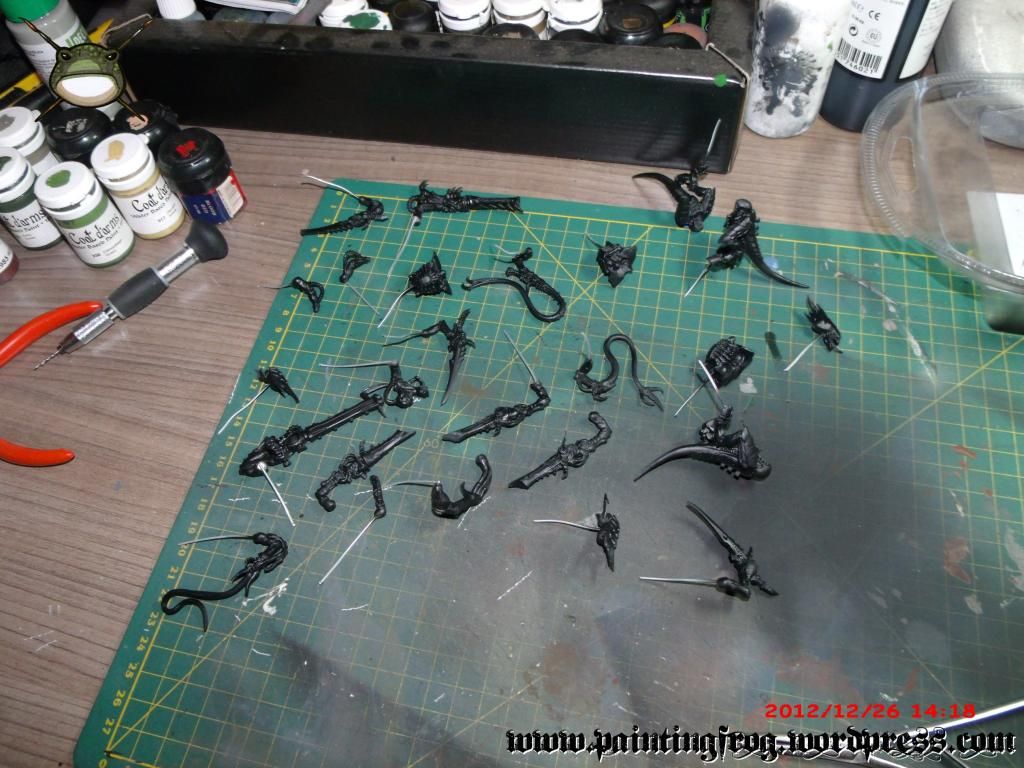
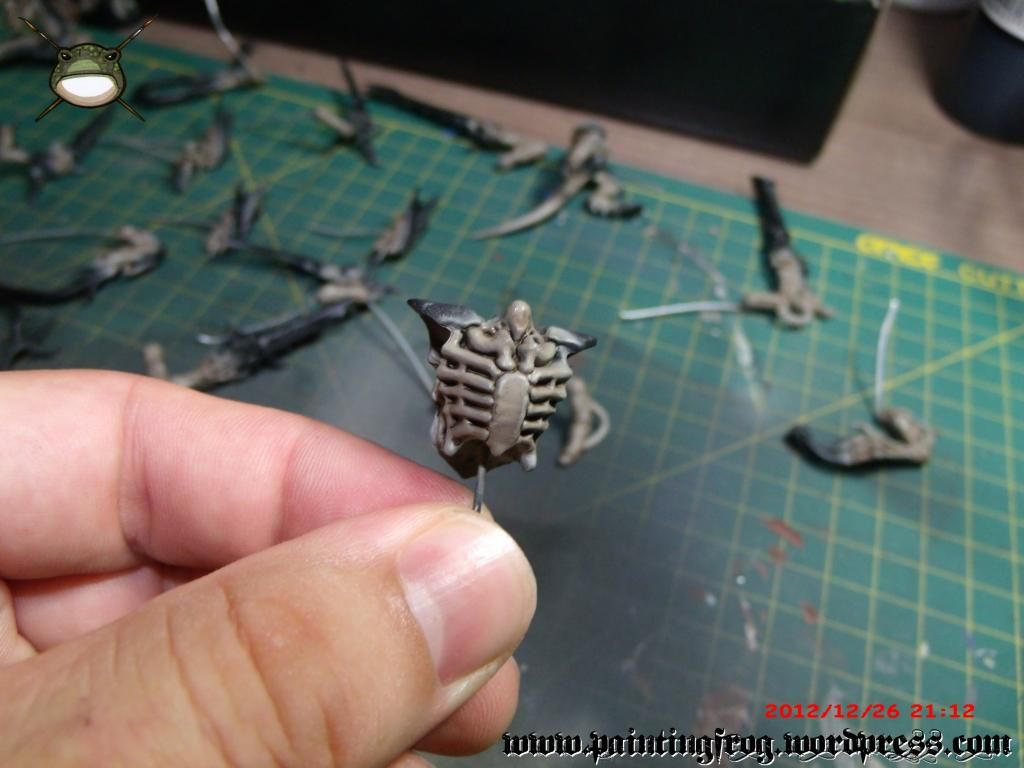
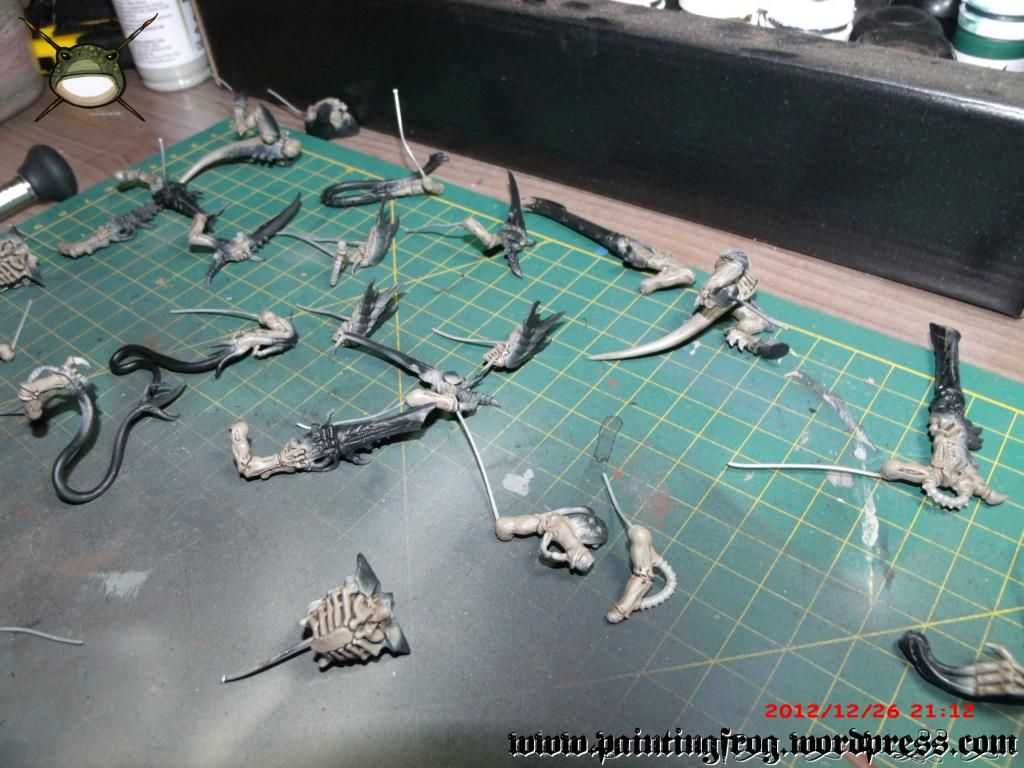
The primed parts ready for painting.
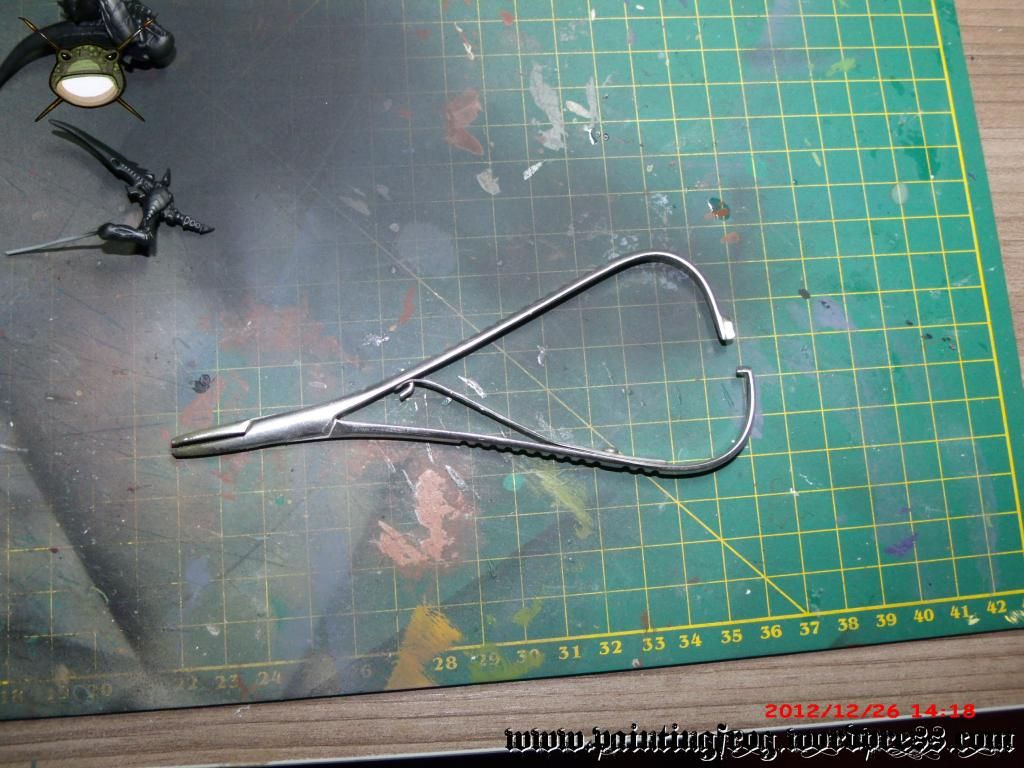
The needle holder plier.
After the primer was done I started by painting the skin. I find it important to keep a list of colors I used as I tend to forget them after a while. This notebook has all the recipes for the figures I’ve painted from the middle of 2012 onwards.
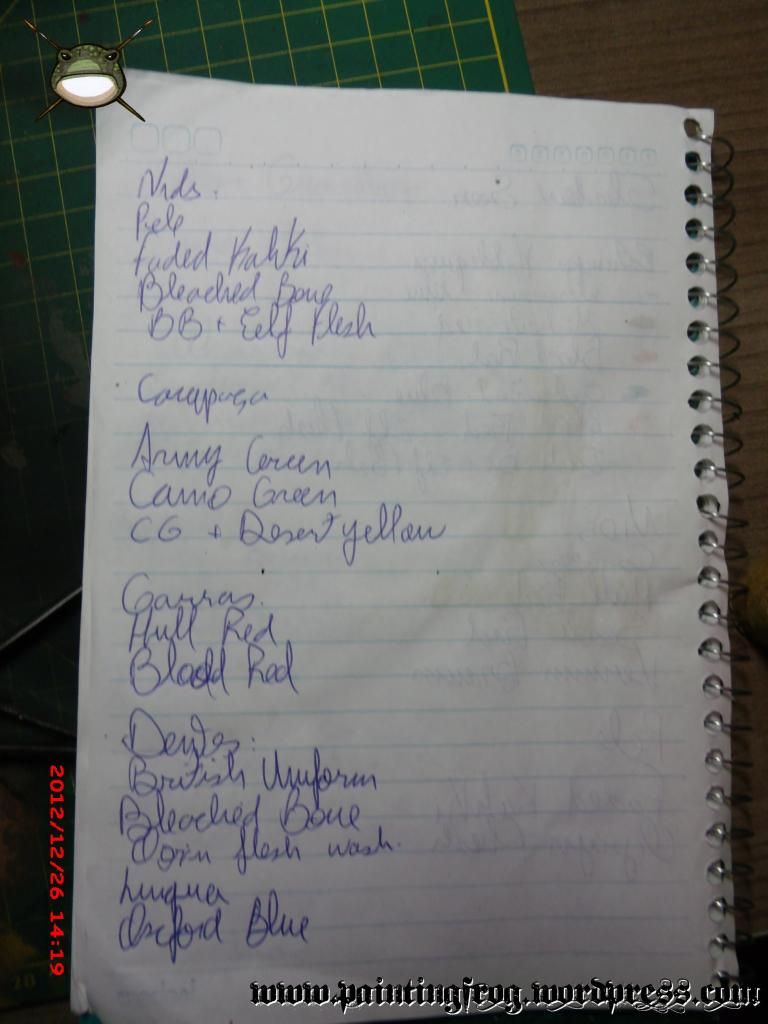
List of colors I used.
I began the skin by painting a base color of Faded Khaki, after that I applied a wash using Agrax Earthshade using a paintbrush. Afterwards I applied the first highlights using Bleached Bone and then a second highlight using a mix of Bleached Bone and Elf Flesh. Both highlights were applied with the airbrush.
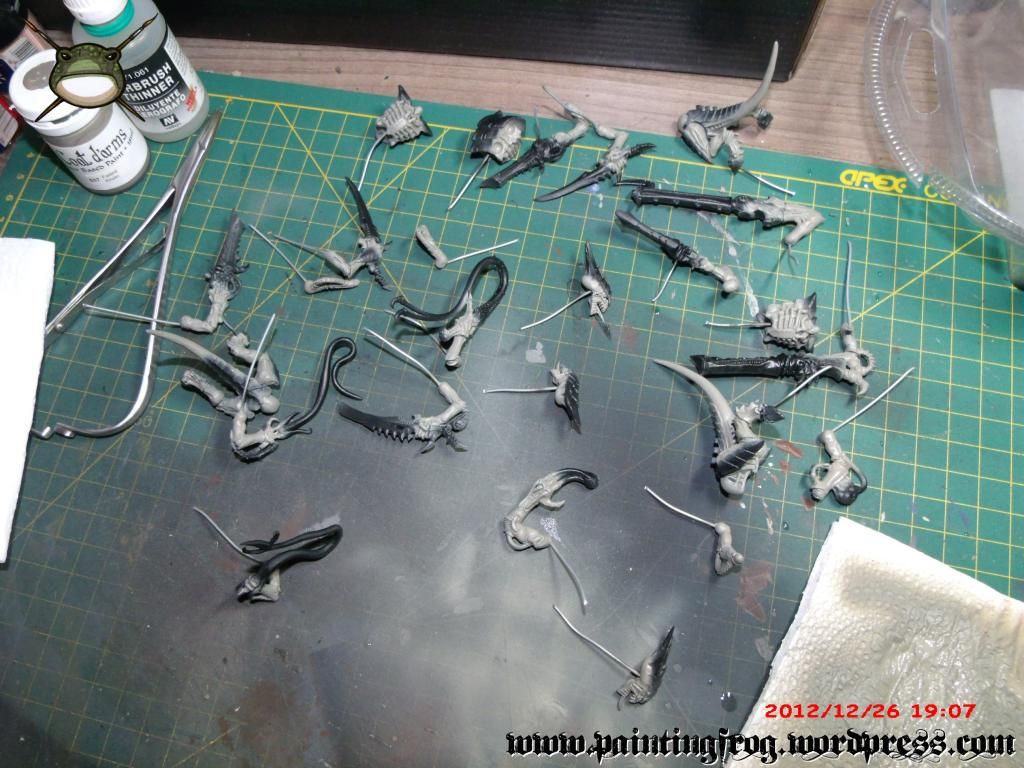
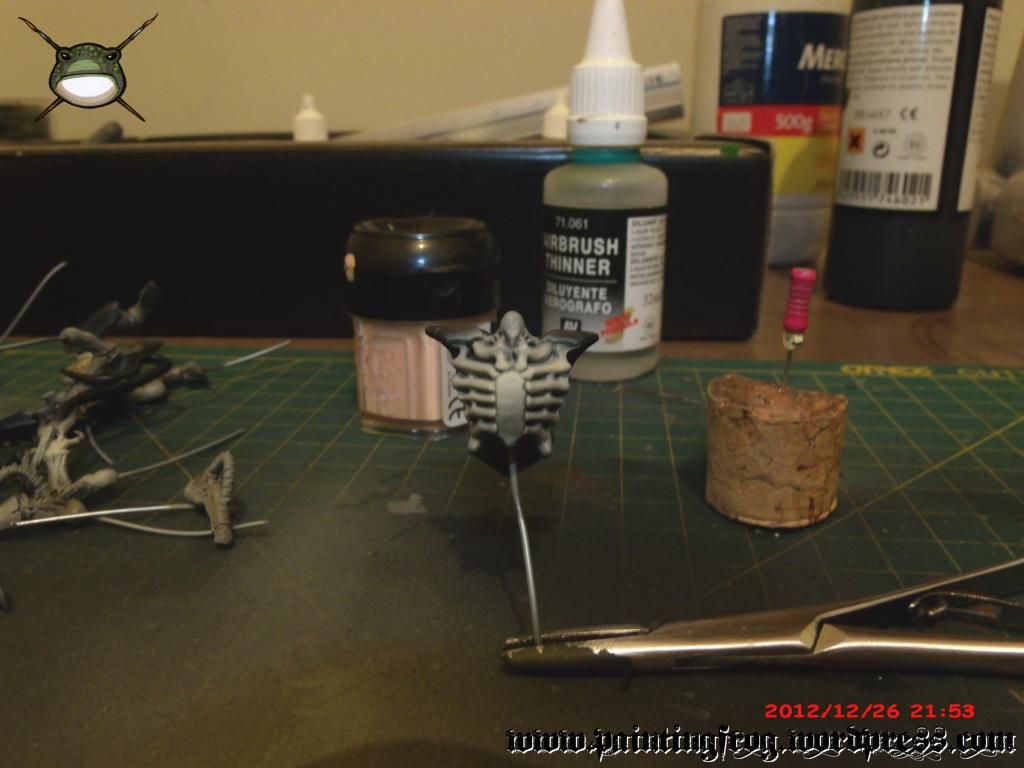
Parts with the base color applied to them.
Piece showing the result after the Agrax Earthshade wash.
Highlights applied.
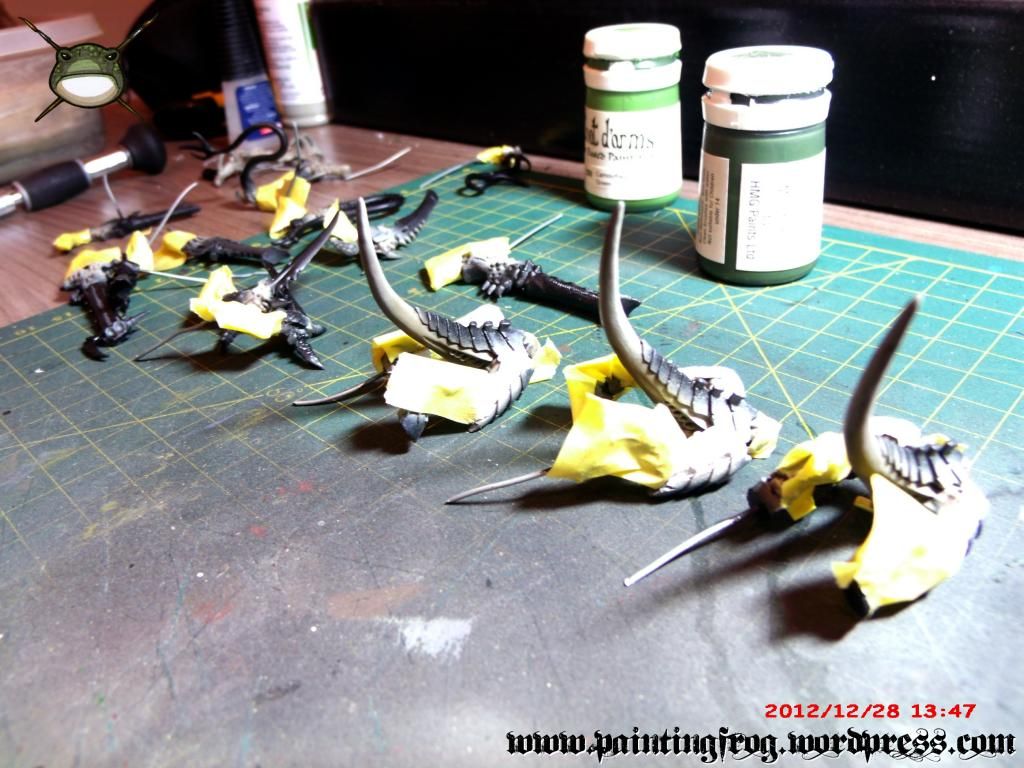
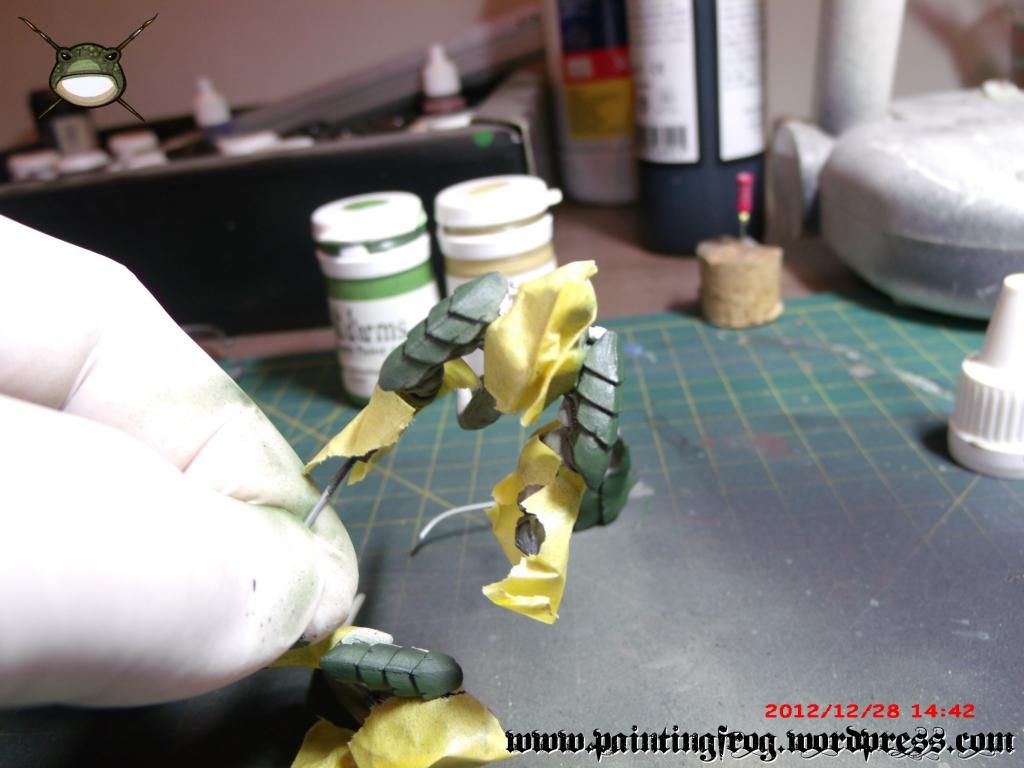
Masked parts.
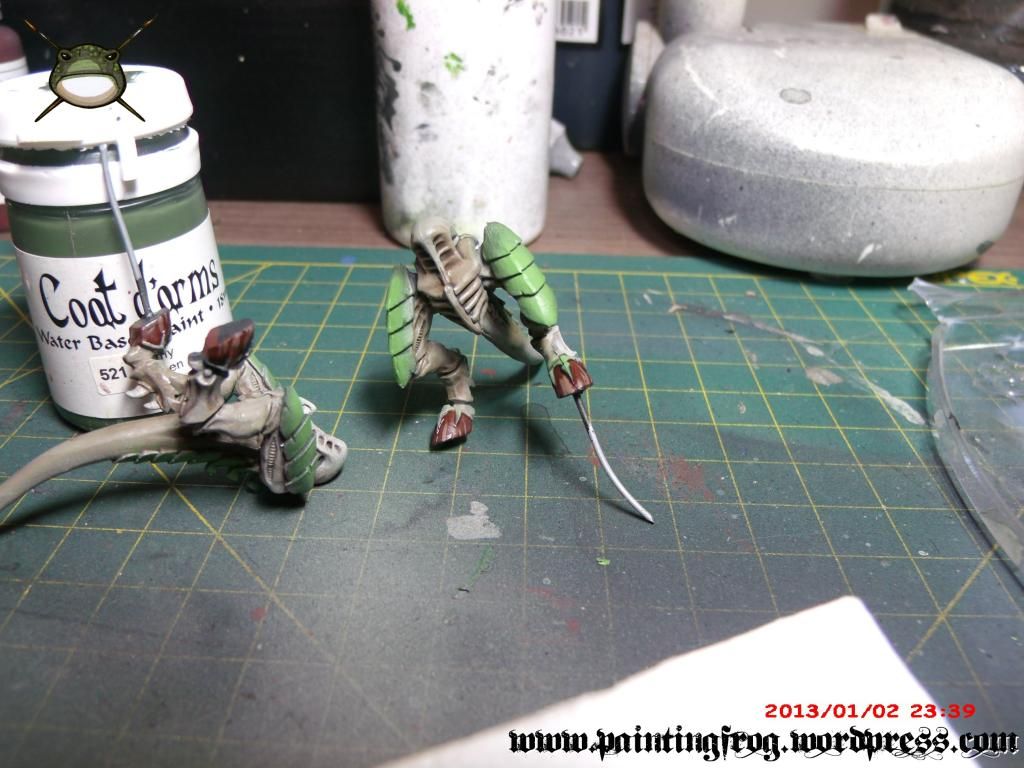
I proceeded to paint the carapaces. I isolated some areas using Tamiya’s masking tape. I’m using paints from the Coat d’Arms brand. I once more applied the colors using the airbrush.
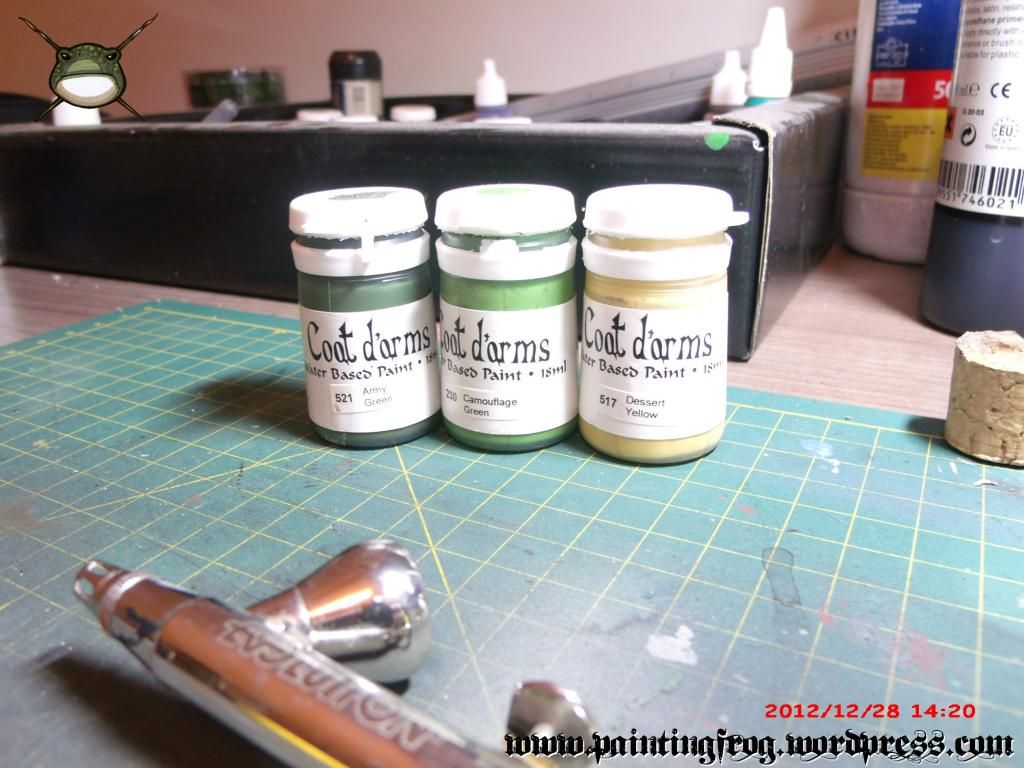
Colors used on the carapaces.
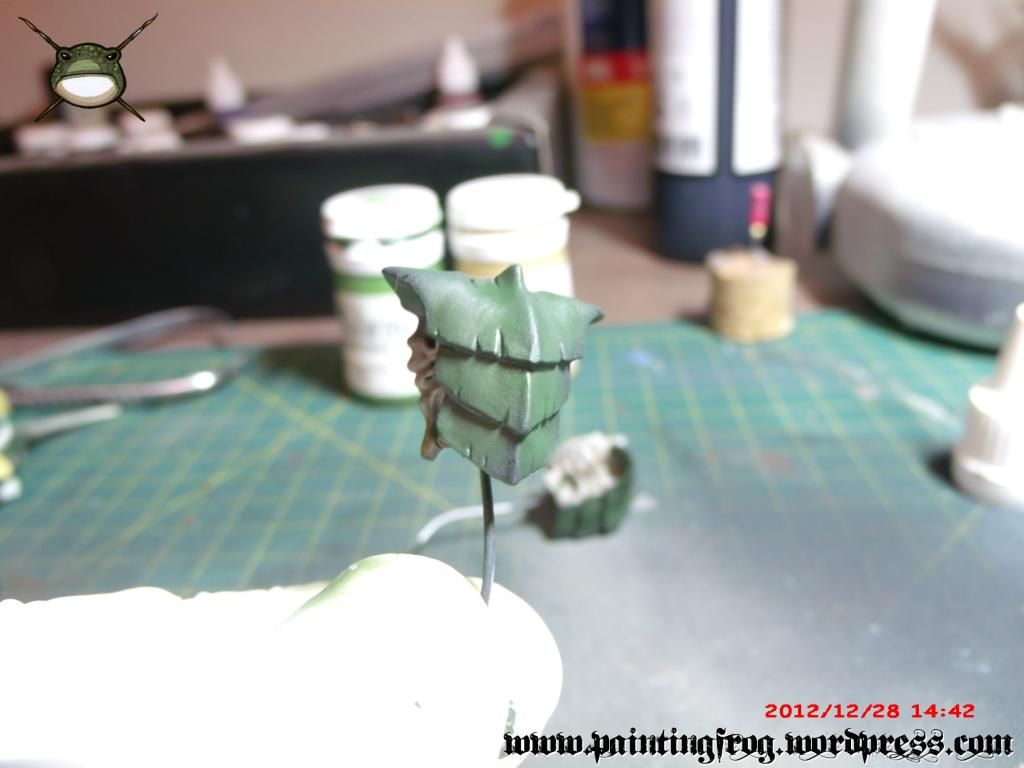
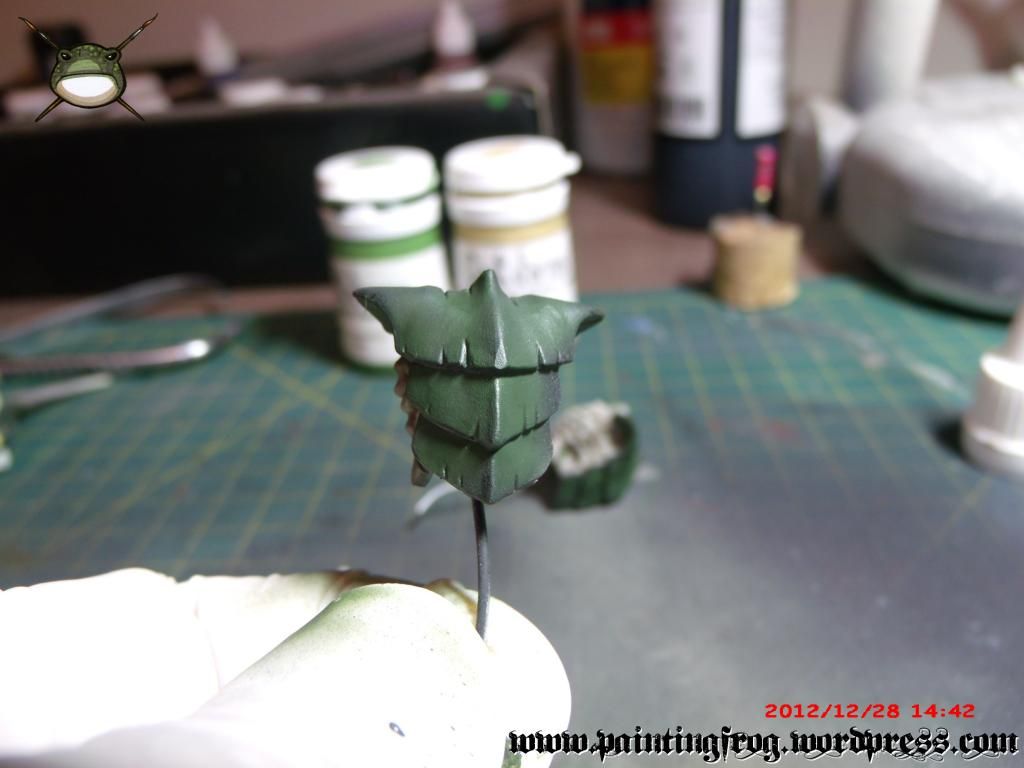
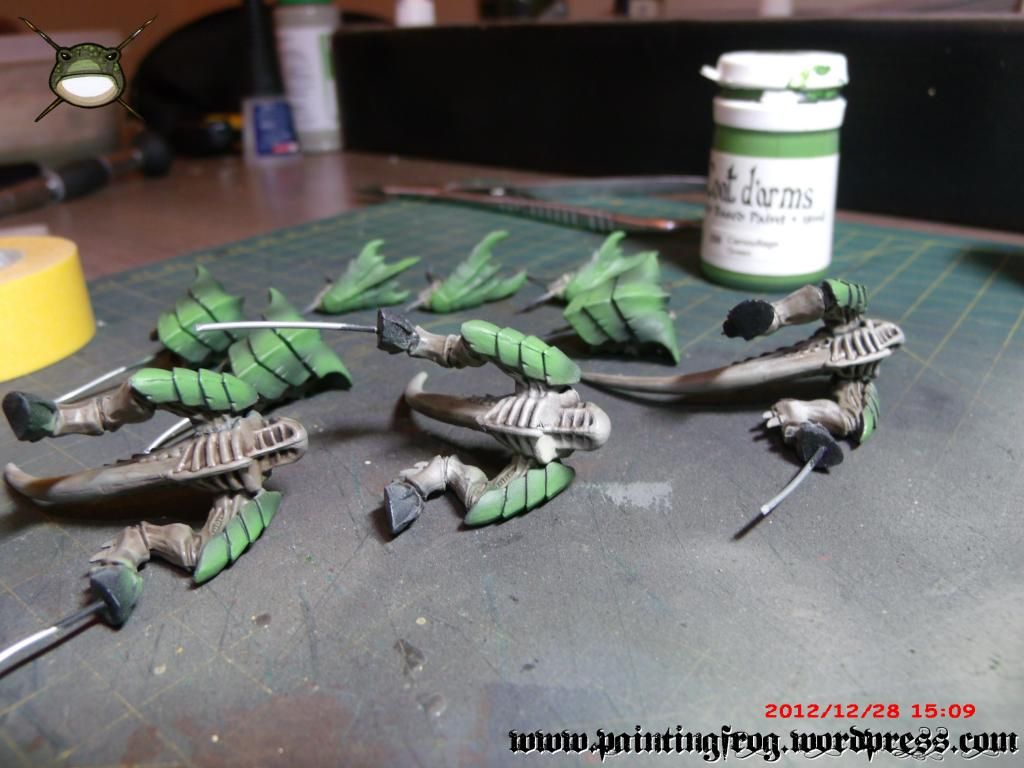
Carapace color done.
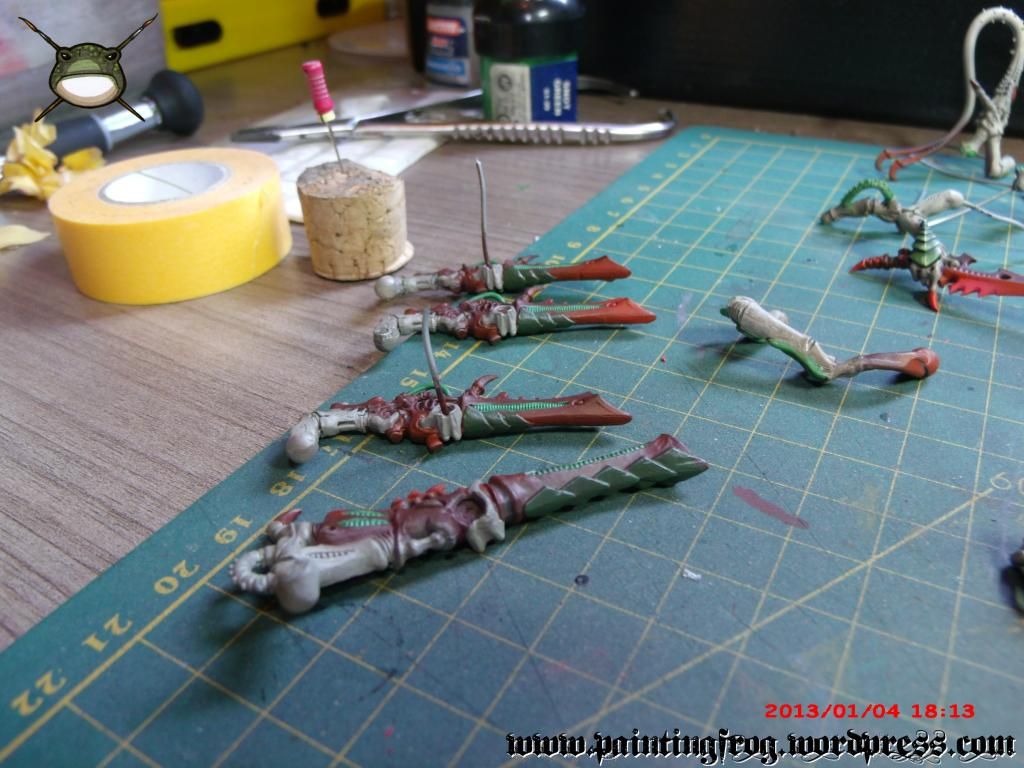
After painting all parts using the airbrush I finalized the paintjob using the paintbrush. Areas where I committed mistakes are fixed, like the hands which were red, small carapaces, nails, shell and the green details on weapons. I also shaded the blades using a paintbrush.
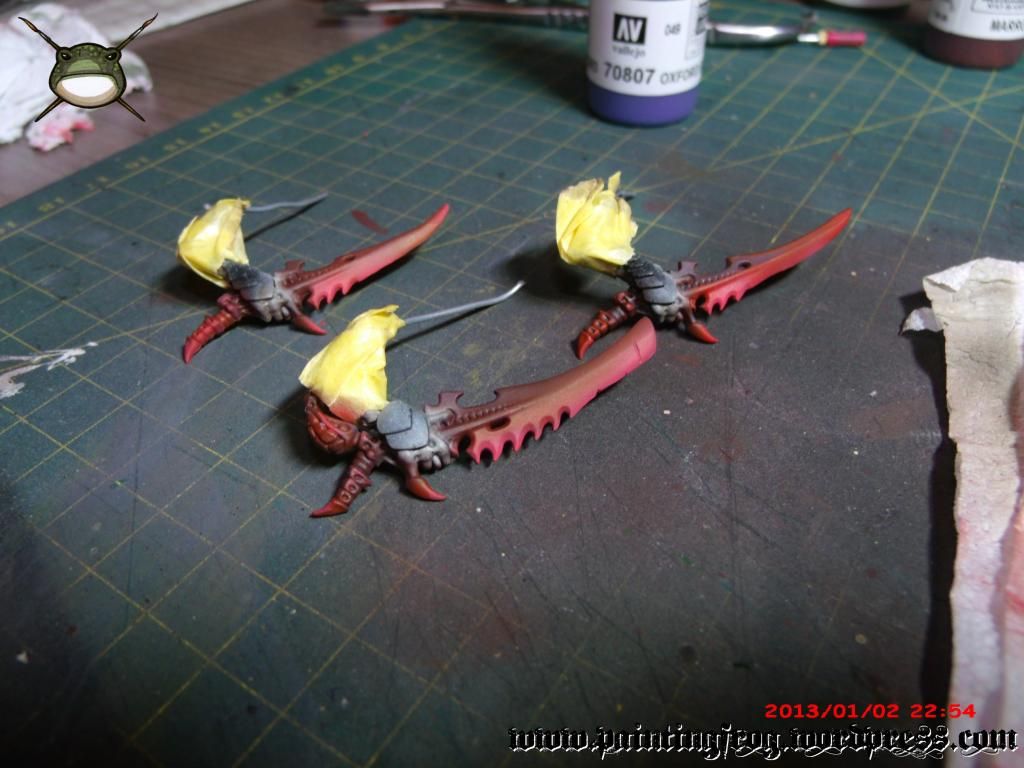
The weapon parts had a basecolor of Hull Red applied to them.

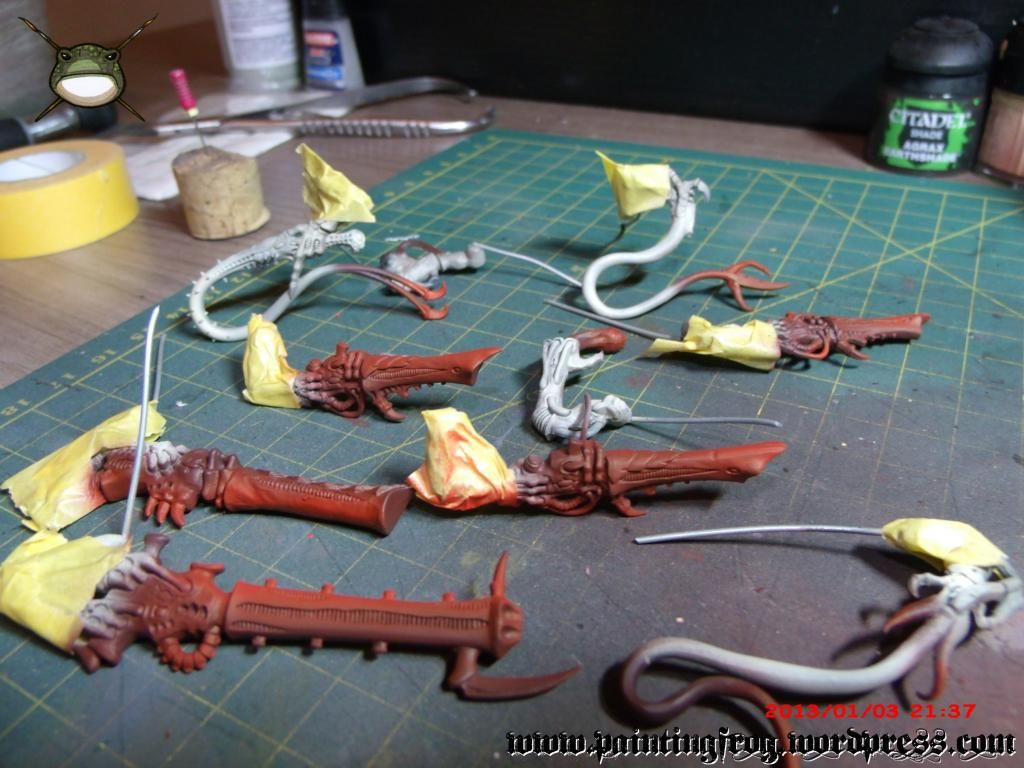
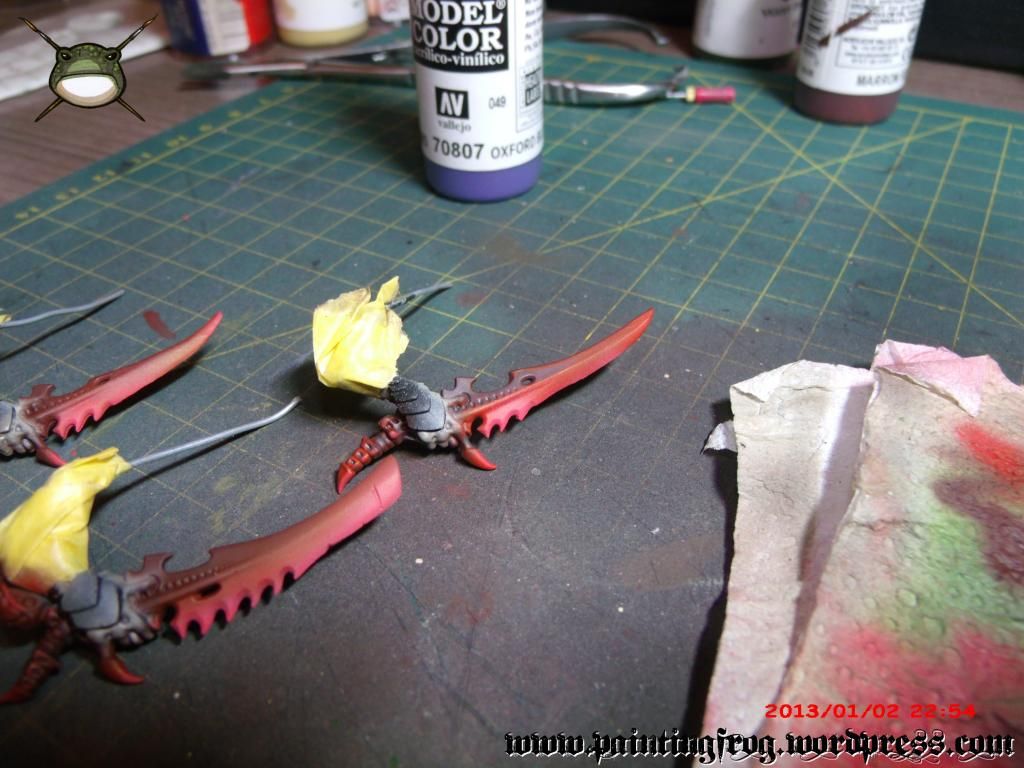
Highlights added with Blood Red.

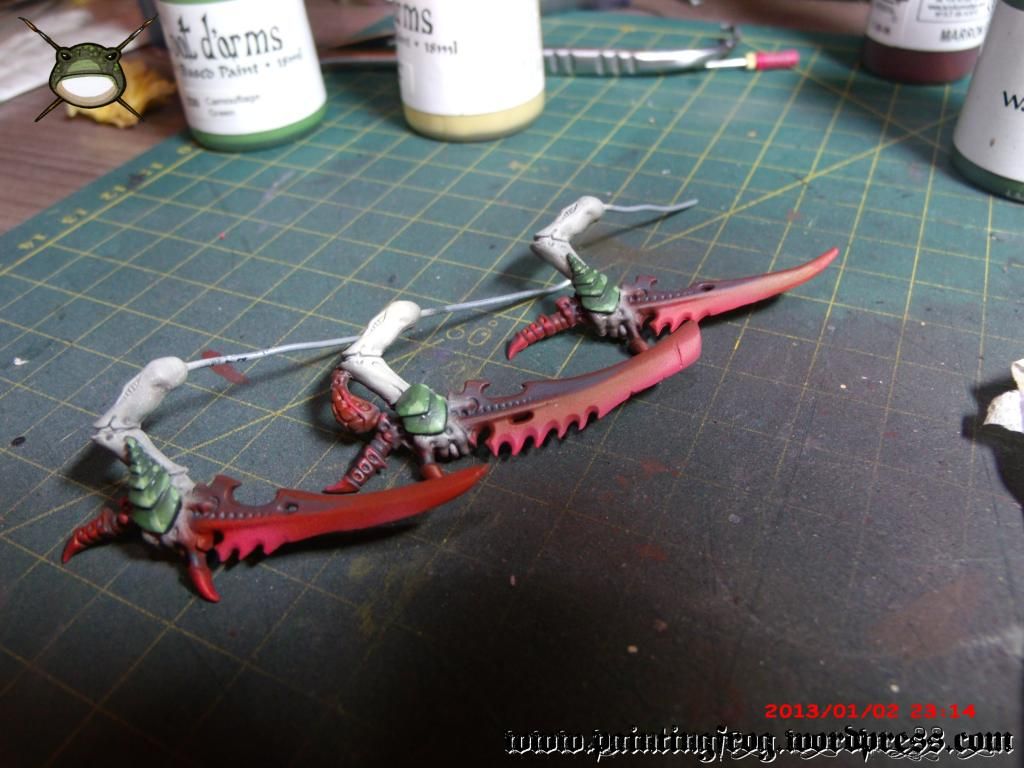
Details picked out in green.
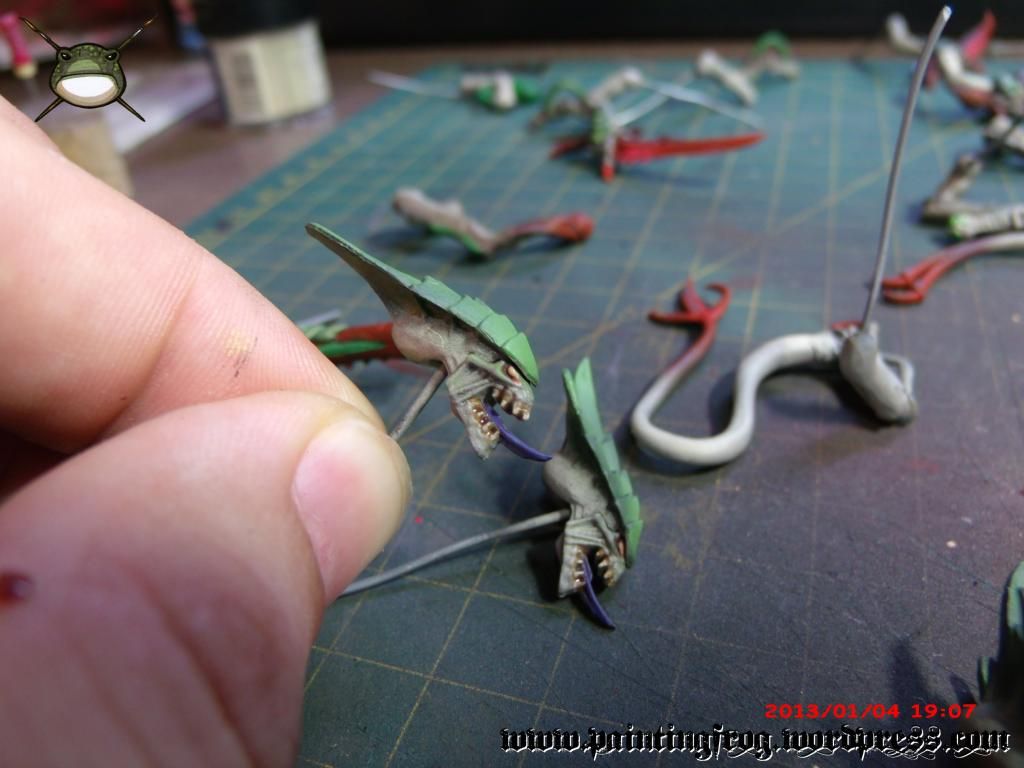
Added details like eyes and teeth with a paintbrush.

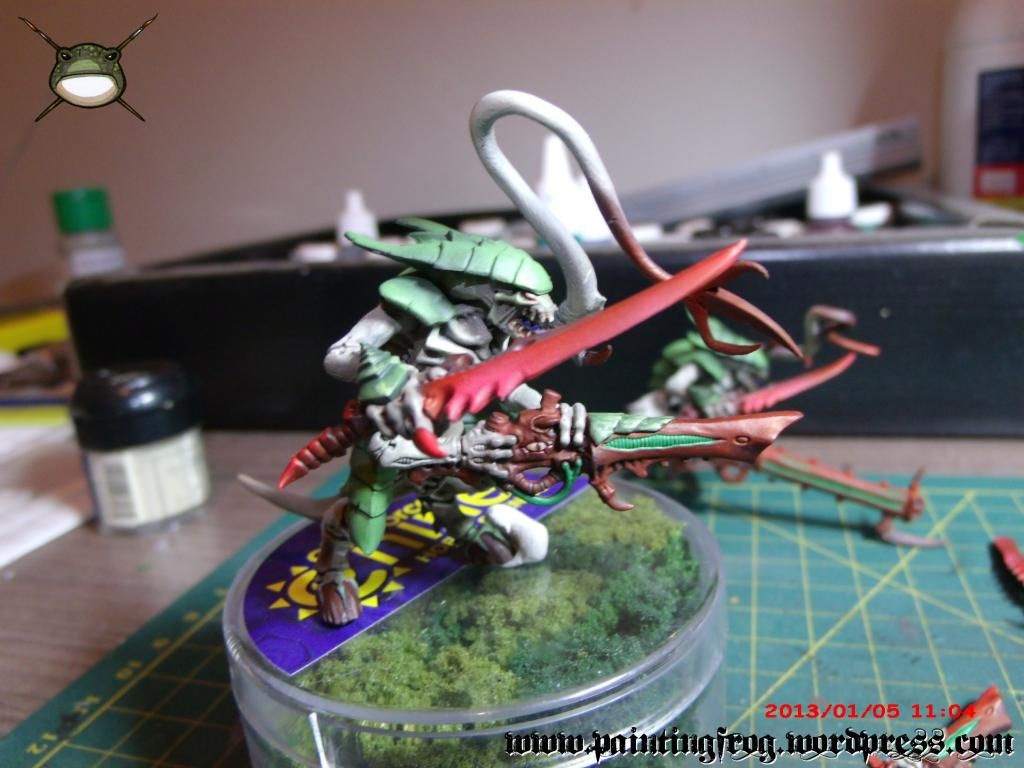
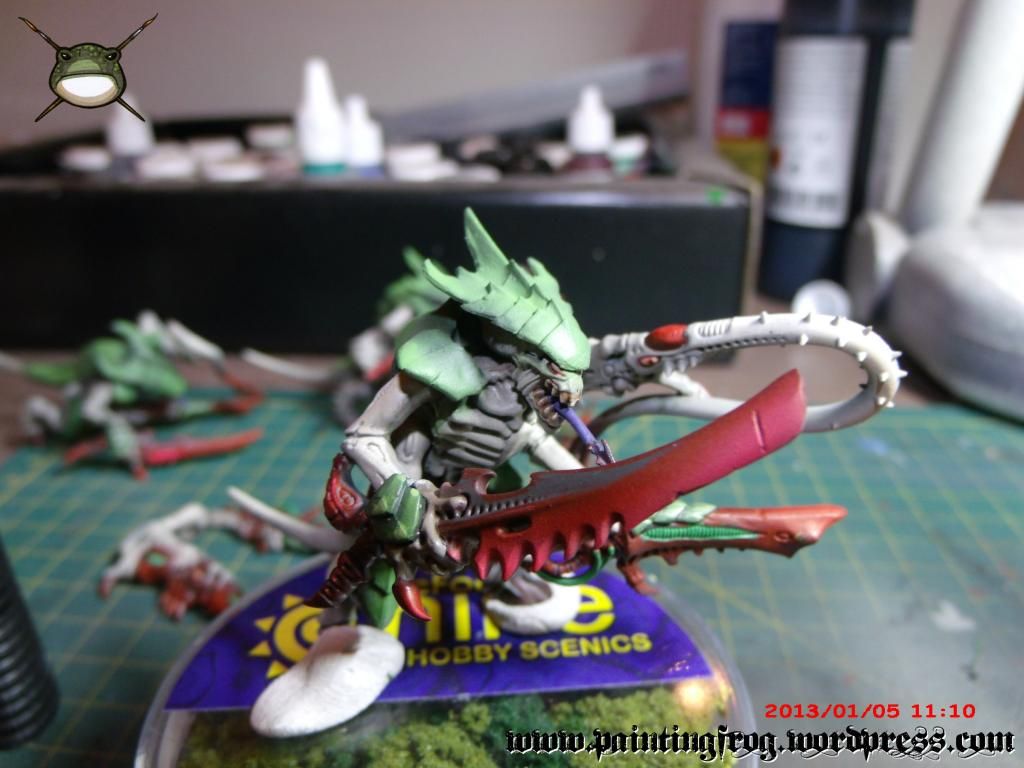
After all parts are done and checked I start gluing the models together. You must be very careful at this step in order not to ruin what’s already been done. You should exercise care so that the glue stays in its right place and avoid applying pressure to the piece which might remove paint from the places where you’re touching the piece.
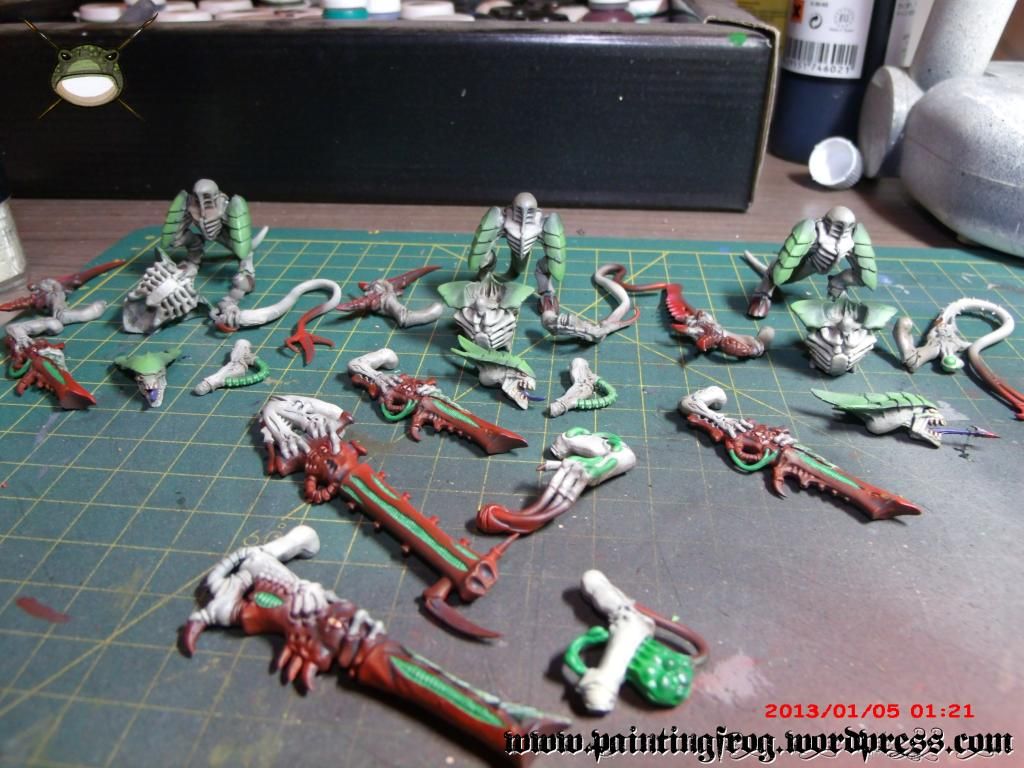
Ready for the final assembly.
And to my surprise and frustration I seem to have misplaced their bases. I went through my boxes and returned empty handed so I’ll owe you that step! When it came to purchasing new figures I didn’t add anything to the collection.
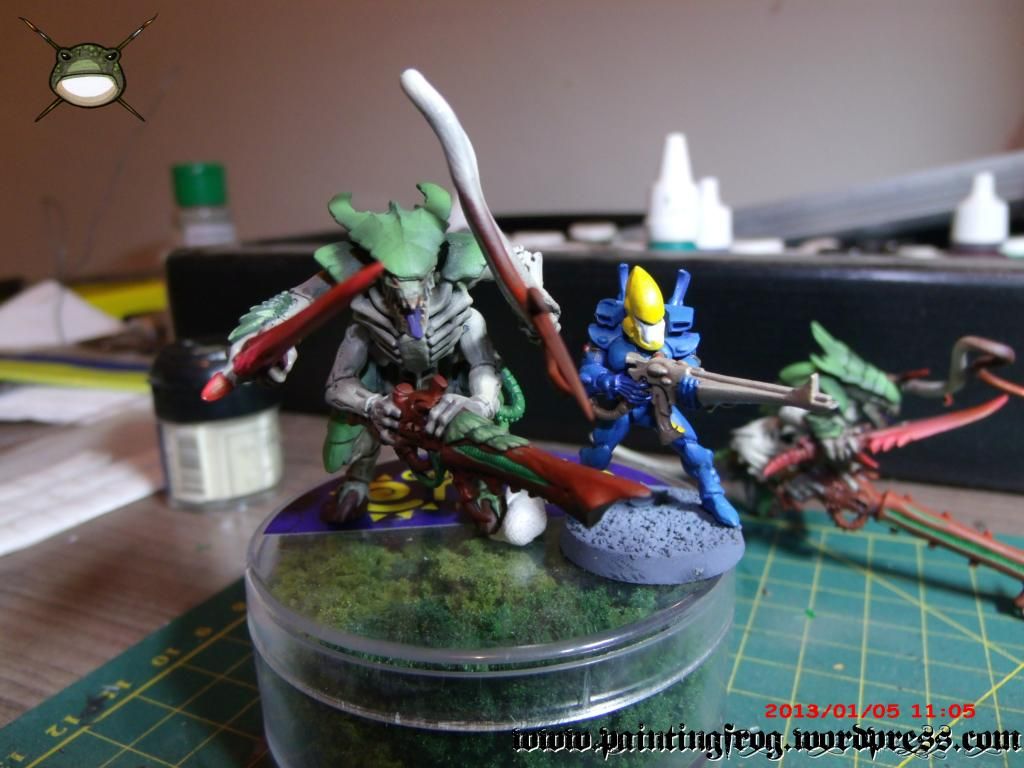
Scale shot.
January is a month I normally vacation in, so I’m off travelling again. I intend to visit a GW store and purchase a lot that I’m missing, specially some Finecast pieces and, of course, the bases I lost.
Hugs to all and see you soon.
+++
Olá!
Vitor do blog “Vamos Ver no Pano Verde” novamente aqui!
Esse mês consegui pintar os Tyranid Warriors. Abaixo está o passo a passo do processo de pintura.
No último artigo eu tinha apenas montado e preparado eles pra receber a pintura. Eu colei umas hastes de arame pra poder segurar as peças enquanto pinto. Pra isso eu utilizo uma pinça porta-agulhas, são baratas, se acha facilmente em lojas de artigos médicos e quebra um baita galho, principalmente se um aerógrafo for ser utilizado.
Partes já com o primer aplicado e prontas para o inicio da pintura.
O alicate que uso para segurar as peças enquanto aplico a tinta com o aerógrafo.
Depois do Primer pronto, eu inicio a pintura da pele, é muito importante manter anotado as cores utilizadas, pois de um mês pro outro eu já não me lembrava mais. Esse caderno tem as receitas das figuras que eu pintei da metade do ano pra cá.
Lista de cores empregadas nas diversas partes dos modelos.
Eu iniciei pintando a cor base de Faded Khaki, depois dei um wash de Agrax Earthshade. Esse wash eu adicionei nessas figuras, aplicado com pincel. Em seguida eu faço o highlight com Bleached Bone e um segundo highlight com Bleached Bone + Elf Flesh, tudo com aerógrafo.
Partes com a cor base aplicada nas áreas de pele.
Torso mostrando o resultado da aplicação do “wash” (aguada) de Agrax Earhshade sobre a cor base.
Highlights prontos.
Partes com a fita de máscara aplicada.
Agora iniciei a pintura das carapaças, isolei algumas áreas usando masking tape da tamyia. Eu estou utilizando tintas da marca coat d’arms. Novamente apliquei as cores usando aerógrafo.
Cores da Coat d’Arms empregadas na pintura das áreas de carapaça. Elas são usadas da esquerda para a direita (base e highlights).
Carapaças prontas.
Depois de pintar todas as peças usando aerógrafo, eu faço um acabamento usando o pincel. Areas onde eu errei são retocadas, como as mãos das armas que estavam vermelhas, pequenas carapaças, unhas, casco e os detalhes verdes das armas. Também fiz a sombra das laminas usando pincel.
As armas receberam uma camada base de Hull Red em algumas áreas.
Seguida de um highlight de Blood Red.
Verde é adicionado aos detalhes das armas.
Detalhes como olhos e dentes são adicionados com a ajuda do pincel.
Depois de tudo pronto e devidamente revisado, é feita a colagem das peças. Aqui se deve ter muito cuidado pra não estragar o que já foi feito, muito cuidado para que a cola fique nos lugares certos e evitar fazer pressão, pois assim se pode remover a tinta dos locais onde se pega a peça.
Partes prontas para a montagem final.
E para a minha surpresa e frustração, eu perdi as bases deles, revirei minhas caixas e nada das bases. Então vou ficar devendo essa etapa! Na parte de comprar minis, eu não adicionei nada pra coleção.
Comparação de tamanho ao lado de um dos meus Eldar Guardians.
Janeiro é o mês que costumo tirar férias, então estou saindo em viagem. Pretendo visitar uma loja da GW e comprar muita coisa que me falta, principalmente finecasts e, é claro, as bases que eu perdi.
Abraço a todos e até a próxima!

Coisa linda!!!
Deu até vontade de experimentar o aerógrafo =D
Parabéns Vitor! As minis estão show!
Valeu Marcelo!
Cara, eu recomendo fortemente o aerografo. É chatissimo de usar no começo, mas depois que tu pega o jeito tu nao quer usar mais outra coisa!
Abraço!