


Hello there Reader.
I was writing the other day about having fully recharged hobby batteries for 2014, but I had been beating around the bush when it came to sitting down and actually painting something, even if I had been assembling and priming stuff i’ll be working on soon.
It turns out we had the “Carnaval” holiday here in Brazil a couple of weekends ago. Yes, you’ve probably heard the word before either in Portuguese or translated into english as “Carnival” or “Brazilian Carnival” and yes, I know the images the word brings to mind as most people abroad tend to associate two things to Brazil: “Carnaval” and football (soccer for the Americans who read me!).

The Carnival parade in Rio de Janeiro/Brazil
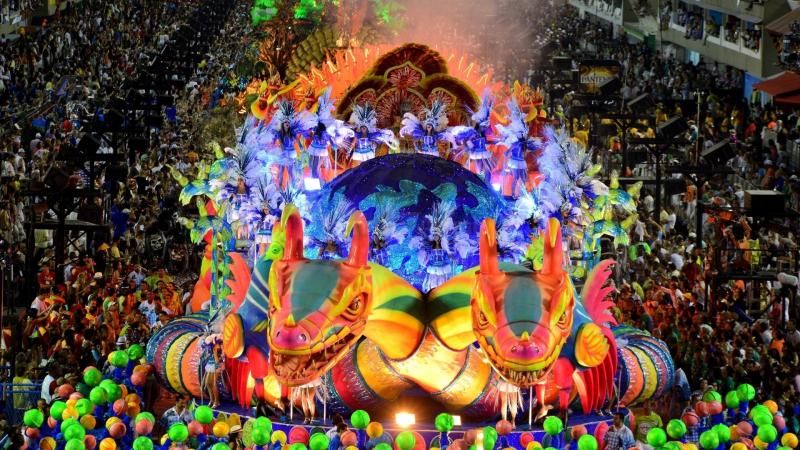
Some say it’s the greatest show on earth.

Whenever people thought about Brazilian the player most would think about would be Pele … Neymar is changing that.
I know what you’re thinking. Yes we have beautiful women too.

Yep! BEAUTIFUL!
But I digress… however, for the reasons of this article you should know Carnival is a holiday here in Brazil, so while most Brazilians will revel and drink and piss on the streets, there’s a few of us who will stay at home and do other stuff we like. No, not all Brazilians like Carnival. So it turns out I was approached by a good friend, Silvio from the Roleplay store in Brazil, who wanted to know if I fancied participating in a second “Paint the Target” challenge during the holiday, a “Carnival Challenge”.
The “Paint the Target” series of articles is an initiative thought up by Silvio and another fellow hobbyist, Marlon from the “Evil Fluffy Creatures” blog, in which over a period of time hobbyists will work on a pre-arranged miniature and after the set amount of time goes by we all show each other our interpretations of the said miniature.
They had already published the 1st Paint the Target article a while ago and concluded it with impressive results, so when they asked whether I wanted to join or not I couldn’t say no.
This time there would be four people taking part in the challenge: Me, Marcos (from the “Chumbo, Plástico Tinta & Pincel” blog) and we would paint the Warboss miniature from the “Assault on Black Reach” starter box for the 5th edition of Warhammer 40.000 (Marcos was painting something different as he didn’t have the Warboss model but it would still be an ork). Now if you’ve been reading this blog for a very long time there’s the slight chance you’ll remember I had already worked on such a model before.
Back in 2008 (that’s 6 years ago) I converted one to give as a gift to another fellow wargamer, who was at the time an Ork enthusiast but who has ever since drifted away from the hobby, and I talked wrote about it here on the blog on an article called “And so this is Christmas” (it was probably Cristmas back then… or not).

Here’s how that first attempt at this model ended up looking. you can see more views of it checking the link for the original article.
I was really keen on revisiting this miniature and started working on it on Saturday, March the 1st, the first day of the “Carnaval” holiday.
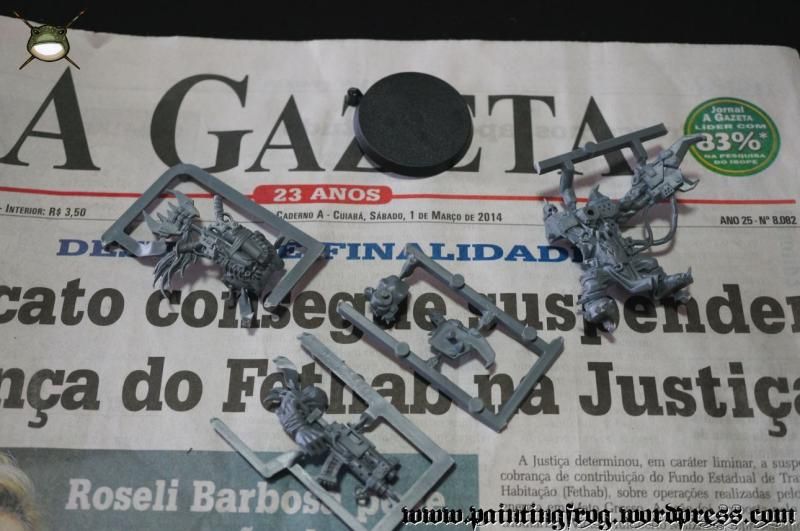
Using a newspaper as proof of a date – Learnt that in kidnapping movies.
The model parts still on sprue – Not much choice on assembly as this was a model from a starter box (Assault on Black Reach for the 5th Edition of Warhammer 40.000).
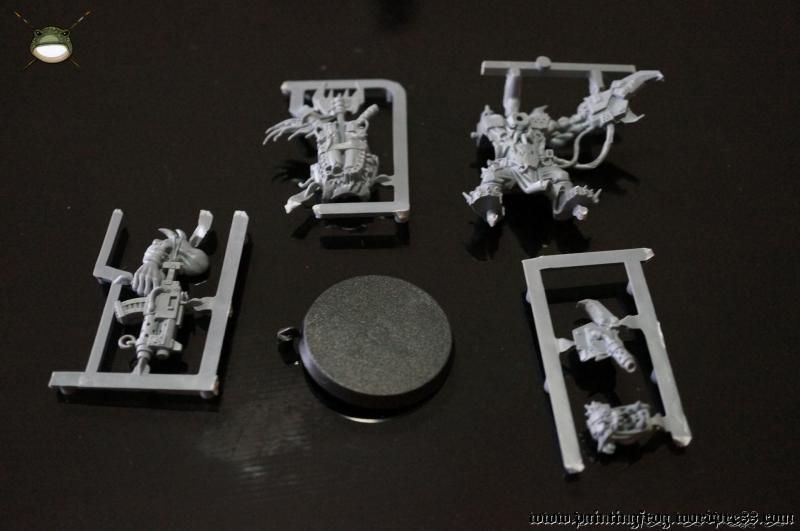
Parts clipped and ready for assembly.
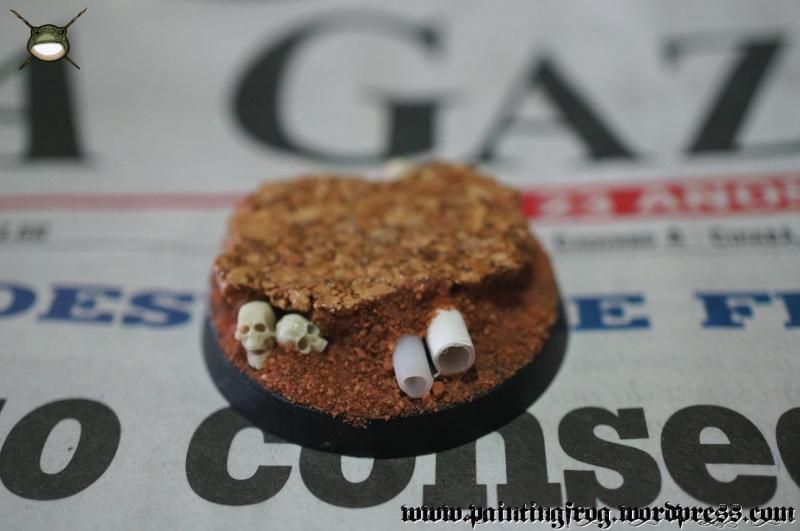
The base.
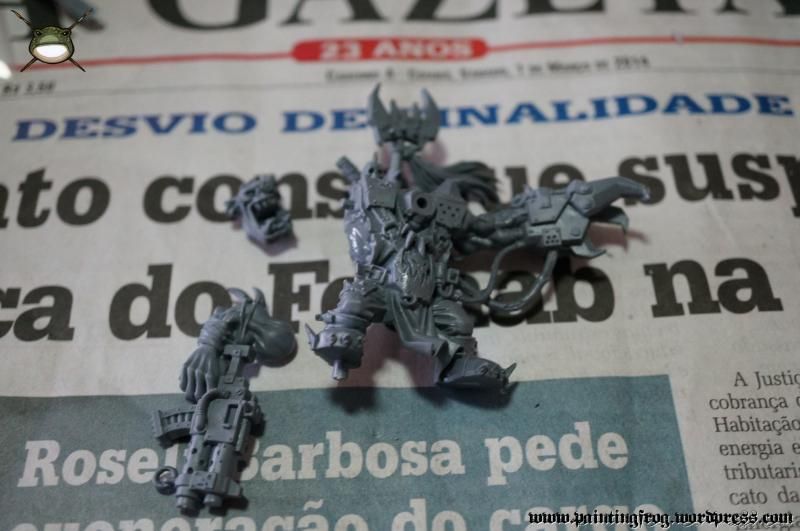
When the time came to give some thought to what I’d do I decided I wouldn’t add any radical conversions to it, wanting to paint the actual model this time, however, I did alter slightly the position of the Ork’s head posing it to actually look at the direction he’s pointing his power klaw at, as if he’s barking orders at his Ork Boys.
That was achieved by gluing the head at an angle and filling the gap with greenstuff (a job I did with a couple of layers of liquid greenstuff). Having sorted the look I wanted for the model it was time to put brush to it and start working as time was quickly going by.
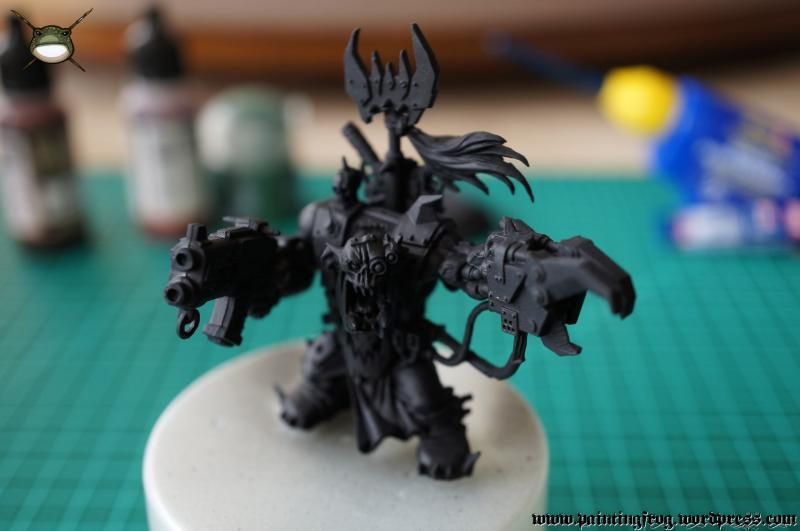
Assembled, primed and ready to go.
One problem that presented itself was how I’d paint the model as I would be spending the holiday on my hometown and it would be difficult to take all my paints there with me, so I decided to try two Vallejo paint sets I’ve been meaning to use for a while: The “Game Color Intro Set” (with basic acrylic colors for fantasy figures) and the “Extra Opaque Basecoat Color” set.

The Game Color Intro set – Fantastic for any newcomer to the hobby of miniature painting.

The basecoat color set – Fantastic paints that covered black primer on a couple of coats (I did miss a yellow basecoat on this set).
I’ll do a proper review of these sets soon but for now it suffices to say that I loved them for presenting all the basic colors one would need to start painting miniaturas and that I’m in love with the paints from the “Opaque Basecoat Set” as they do what they’re intended to in a couple of applications.
I began painting as I do all figures, from the inside out, beginning with the skin and then going for the metals, clothes and so on. While waiting for paint to dry I started working on the base, again nothing fancy.

Beginning the paintjob by the skin – The “Heavy Green” color from the Vallejo Basecoat set was used here to great effect. A single coat was able to cover the black primer.
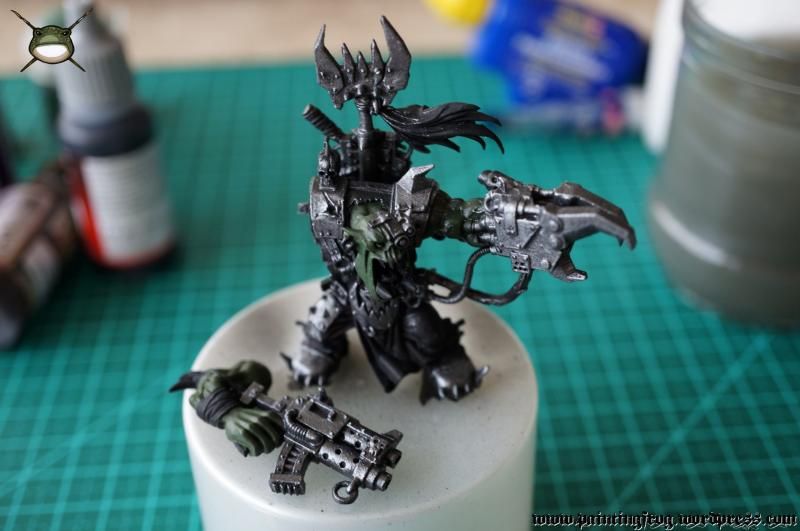
Metals were done after the basecoat on the skin. I did have to reaply some green to cover some mistakes (drybrushing is MESSY) and again it covered them in a single coat.
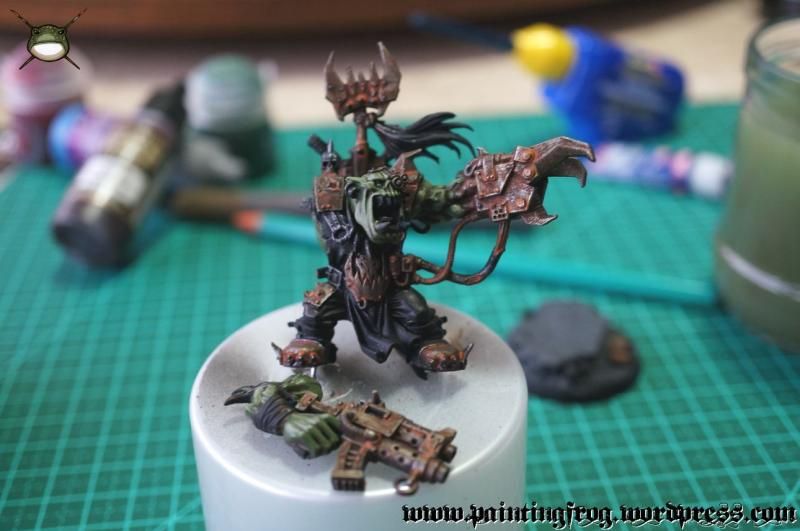
The skin was completed with two washes from the Game Color Wash line also from Vallejo. “Fleshtone Shade” and “Sepia Shade” were used to break tint the green skin before highlights with lighter greens were applied (mixing the basecoat with lighter colors from the Intro Game Color set). A rust effect was then applied to the metallic parts using the Vallejo washes again (the only ones I took with me) and then applying dilluted brown and orange paints to certains spots.
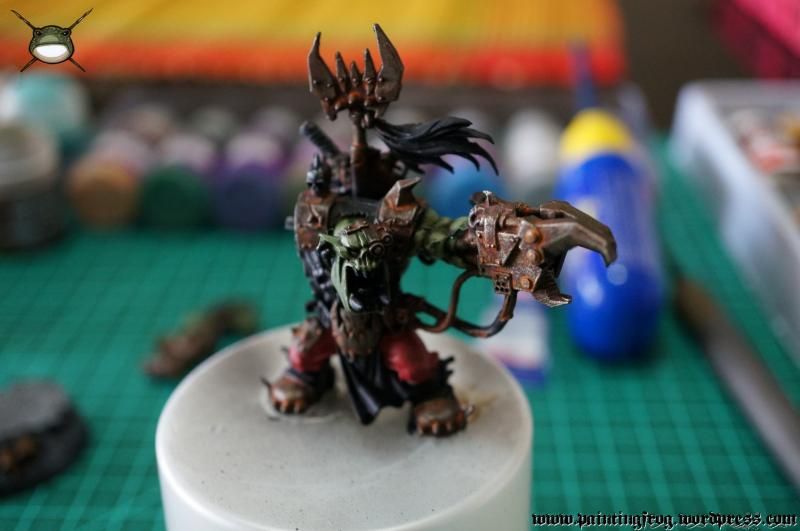
I originally intended to give Gutrippa red pants, however they looked too simple and I decided to spice things up with stripes.

The completed stripes and sash. Orks have such a sense for fashion. After this it was only a matter of completing the paintjob (and I got carried away and took no more photos – shame on me).
And here’s the final result. I’m quite happy with how this model turned out especially because of the skin tone I managed to paint and the stripes on the pants (that my daughter immediately called “clown pants”). I’ll let you guys be the judges:
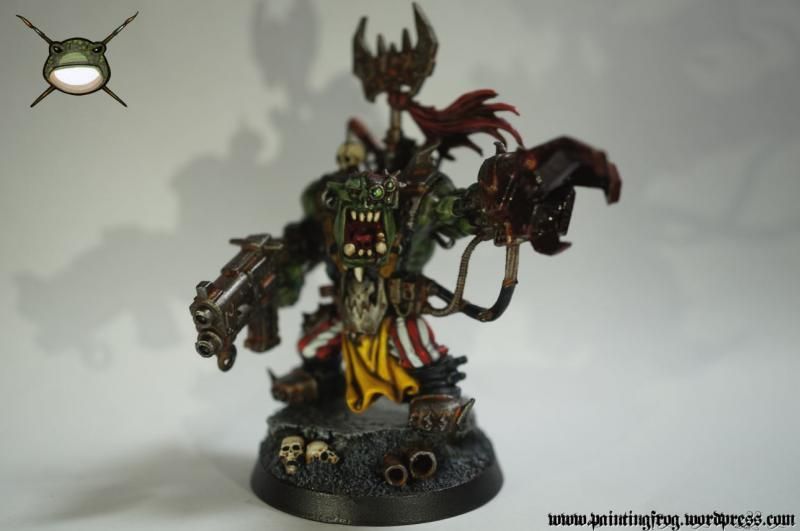
The completed Warboss Gutrippa in all his splendour and covered in gore.

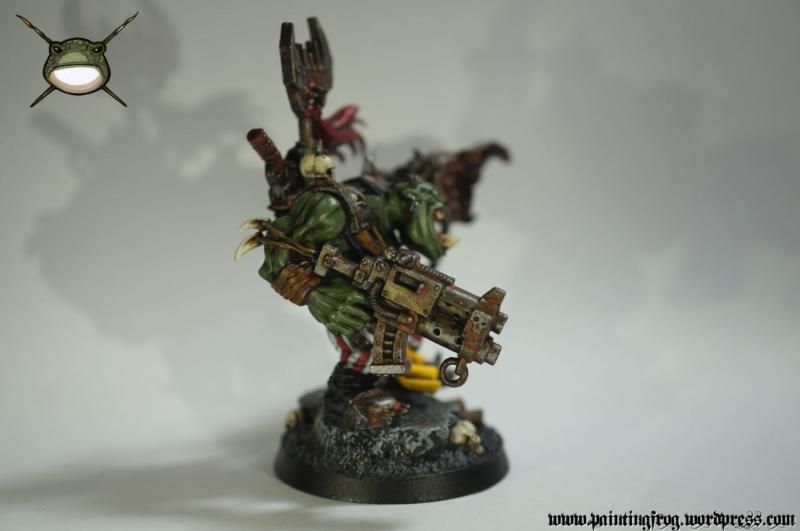
Another view of Gutrippa – The gore on the power claw was added on the last day of the holiday when I returned home.


Detail shot of Gutrippa’s ugly mug – not even a mother would love that!
I’ll wrap this up apologizing for the quality of the photographs. I really need to work on a better set up and lighting solution in order to photograph my models. I’d also like to thank Marlon and Silvio for the invitation. It was a joy to participate in this 2nd “Paint the Target” and I definitely look forward to participate in other opportunities. The final results have been published on the “Evil Fluffy Creatures” blog so you can check the models painted by the other participants, which look pretty good (I’m especially fond of Silvio’s conversion and paintjob).
Guess that’s it for today guys.
Over and out.

Awesome job, awesome challenge. It was a very nice week for all of us.
Indeed a very good time Marlon! Thanks once more for inviting me!
Realy loved the pants. Looted!
Glad you liked them mate!